Marking up music for focus and clarity
Marking up directions on the music - fingerings, bowing, phrasing and other instructions - is a staple of learning the music. But what do you do when there are too many markings? Here's a simply solution using plastic sheet protectors and dry erase markers.
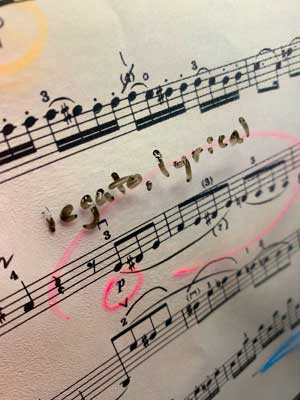
One of the challenges of working with a piece is that you accumulate markings on the music. Sometimes a lot of markings. Like a piece that my child has been working on for a while:
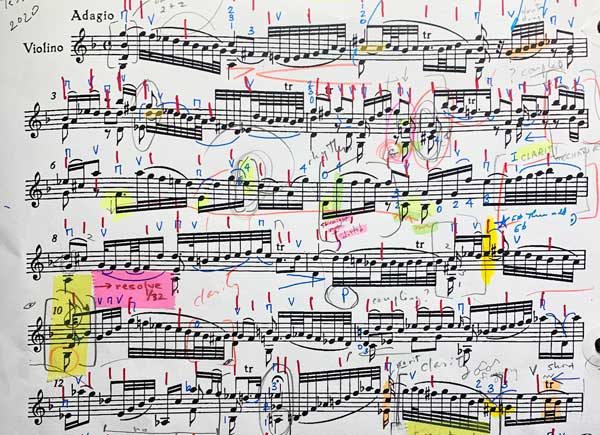
Although it provides a living record of how your technical work arrived a particular point, it can be hard to spot what’s important. What’s more, it nothing provides a clear roadmap for practice any longer. What do we work on today? What’s most important that I remember for my next lesson? We often lament that our kids lack focus in practice, but the sheer number of concepts on which they could be focusing just on one page is staggering. And none of the markings convey any sense of priority. It’s hard to prioritize when there are some many choices.
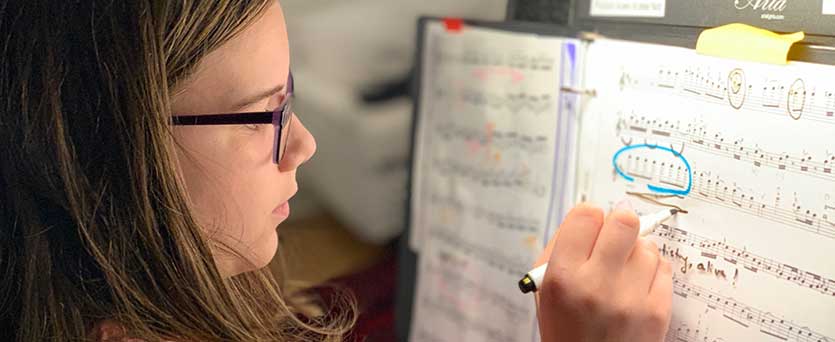
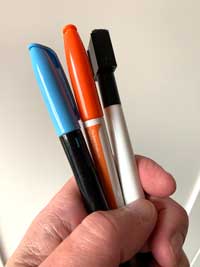
That’s why we worked out a way of cutting through the visual noise on the music while directing focus toward a smaller subset of concepts to work on in today’s practice. Using a clean copy of the music, plastic sheet protectors and fine tip whiteboard markers1, we created a system for temporary markup of the music.
Having created a clean copy of the music by scanning2 and printing it, slip the copy in a plastic sheet protector sleeve - the kind you can find in any office supply store. Then you can mark up the plastic sheet using dry erase markers to create focused areas to practice today. Afterwards, you can erase the markings with a whiteboard eraser and redo it for tomorrow’s practice, when you may be addressing a different set of goals.
Other ideas:
- Use different marker colours to mean different types of issues to work on. Mark difficult shifts in purple. Piano dynamic in blue, forte in red.
- Involve the student herself in marking up the parts. I gave my daughter a list of to-do’s from the teacher and let her mark some of them so she would have even more investment in the process.
Of course, eventually some of the markings needs to become an indelible part of the music so that when revisiting the piece later, the technical and interpretive ideas are still there. But for day-to-day focused work, plastic page protector sleeves and dry erase markers can provide a good road map.