How to make an audition video
Sooner or later you'll probably need to make a high-quality video for auditions. Here are some tips on doing it well.
We recently had to produce a couple audition videos, so I thought I’d share what we learned in the process. Even if you’re not recording for an audition, it can be valuable to capture piece that your children have polished to a high level in an indelible way.
Goals of the audition video
You want the audition video to accurately represent your level of playing and mastery of the instrument in a way that allows adjudicators who don’t know you and can’t see you up-close to assess your ability and suitability for their goals. So what you’re trying to achieve is a wonderful sample of your playing with minimal distractions. I’ll take these two goals separately and discuss how to make it work.
A wonderful sample of your playing
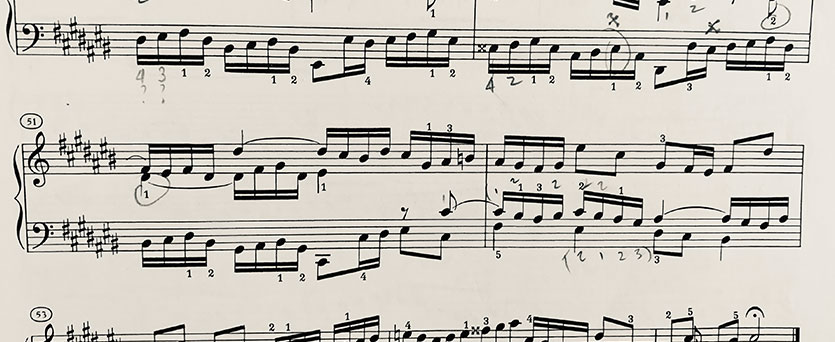
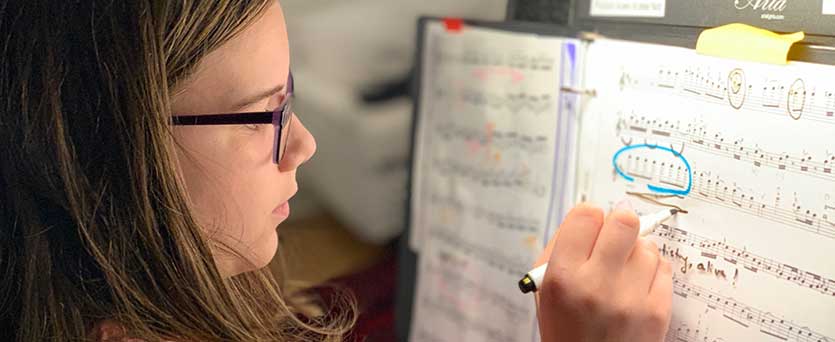
It goes without saying that the reviewers should fall in love with your playing. The piece should be polished to the highest level of your ability. Pay attention to nuance - dynamics, tone colour, and phrasing. Once your selection is at this level, you can consider the technology to make this stand out.
Video quality
While even your phone can record video in HD quality, you should recognize the limitations. The phone offers very little in the way of settings. You are probably stuck with the video settings that the phone has to offer.
If possible my recommendation is to use a video-capable DSLR or mirrorless adjustable camera. The optical quality will be superior to the tiny lens in the phone’s camera and you’ll be able to adjust the settings to achieve a more desirable result.
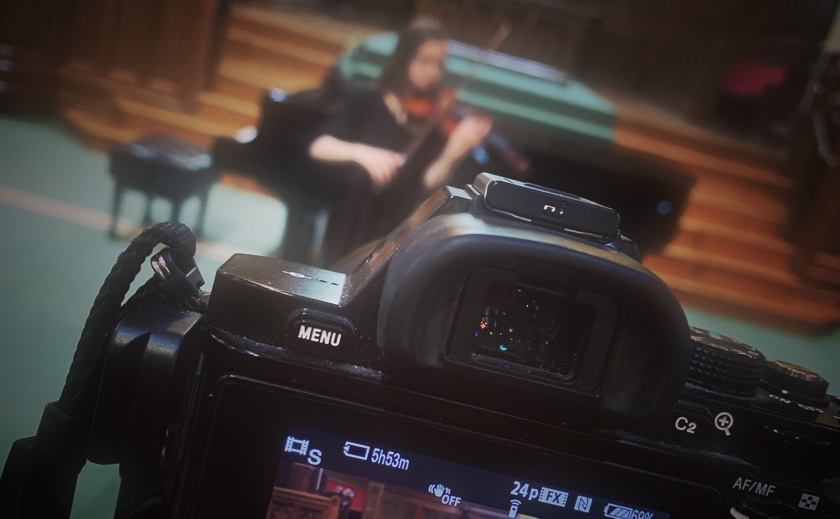
Frame rate is one of the adjustments to make. Many cameras shoot at 60 frames per second (fps) because they can. The problem with 60 fps is that it often looks unnatural. A much more natural, softer effect can be achieved by shooting at 24 fps. Each camera has a different way of accessing these settings; you’ll have to read the manual. It took me a little digging in the menus to find them on my camera (a Sony A7.)
After setting the frame rate to 24 fps, we want a shutter speed that is about twice the frame rate. So, it would be about 1/40 or 1/50 of a second. Since most cameras automatically try to strike a balance between shutter and aperture, you’ll need to find the setting for shutter priority and set the shutter speed from there. Pay attention to the ISO, the sensitivity of the sensor. It should be on auto.
Summary of video settings:
- Use 24 frames per second frame rate
- Put the camera in shutter priority mode.
- Use a shutter speed about twice the frame rate, i.e. 1/40 or 1/50 second.
- Set the ISO to auto.
Audio quality
One of the most impactful changes you can make in your recording technique is to record the audio separately from the video. That means using a digital recorder, or using a digital audio recording application on your mobile device along with a stereo microphone.
I use my iPhone or iPad running MultiTrack DAW software paired with the Rode iXY microphone. This combination records very low noise audio that I can pair with the video.
Depending on your room, you may need to play around with the positioning of the mic. Too close and the sound may be distorted. Too far away and the sound is unfocused. It’s also worth running through some of the sections with louder dynamics to make sure the microphone gain isn’t set too high. Otherwise clipping may occur.
Depending on the room where you record the audition, you may want to post-process the audio lightly in an audio editing application. I use Audacity. It’s free and relatively intuitive. Typically, the only addition I make is a very slight reverb (under 40%, typically 30-38%.) In our living room, it adds just a little “life” without sounding inauthentic. I stay away from dynamic compressors because the results with small acoustic instruments can be pretty bad. Just a touch of reverb to make it more lively and warm and that’s it.
Finally, I would just mention that it can be tricky to line up the audio and video tracks. The eye and ear are very keen and can detect when the audio and video aren’t perfectly in sync. To help synchronize, I play a very short musical note before the actual performance that is captured on both the audio and video tracks. The very sharp spiky waveform is easier to line up visually in the video editing timeline.
Summary of audio tips:
- Use a digital audio recorder or your mobile phone with a stereo microphone.
- Try different microphone placements to find the best position.
- Use Audacity to post-process the audio, but only do it very lightly.
- Use a “marker tone” to help line up the tracks in video editing software.
Perspective and lighting
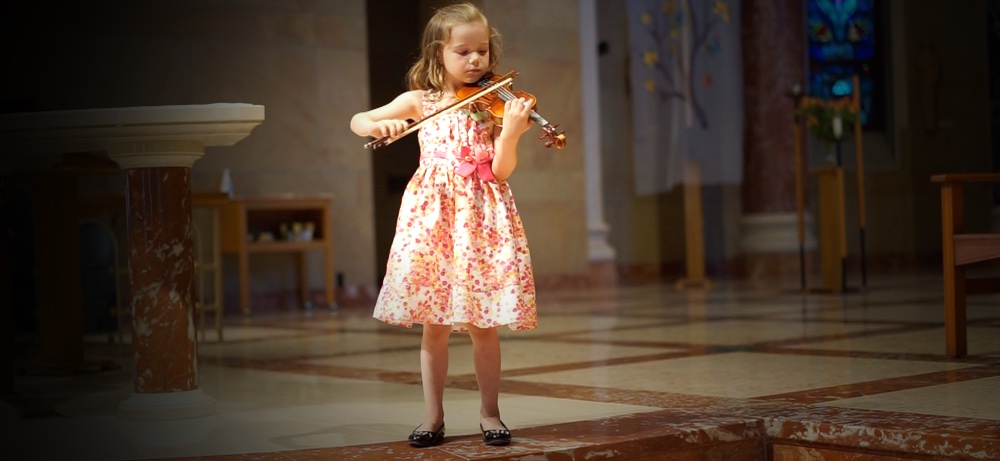
The ideal perspective for an audition video is what an audience member would see from a really good seat. The camera should be supported on a tripod and should be absolutely level. The perspective shouldn’t be looking up or down at the subject. Make sure all of the technical parts are visible. For string players, the perspective should show the bow action and what’s happening on the fingerboard.
The lighting should be indirect and not harsh. Avoid backlighting which fools the autoexposure on the camera and can yield disappointing results. Watch out for LED lighting especially on dimmers. With certain combinations of LED lighting levels and shutter speeds you can get a very noticeable flickering or banding. The shutter speed of 1/40 to 1/50 second can eliminate most of these artifacts, but I’ve seen cases where 1/40 second didn’t work while 1/50 second did. If you have LED lighting, you’ll need to experiment with various combinations of light intensity and shutter speed to eliminate banding.
Avoiding distractions
Try to setup the frame so that there’s as little as possible to distract the viewer. If you have different lenses available to you, try to different focal lengths. In a recent audition video I ended up using a fast 55 mm lens that did a nice job of holding the subject (my daughter!) in focus while blurring the accompanist (me!)
Editing
Here, nothing special is needed. I use iMovie for such a straightforward project. Typically I’ll start with a single dark background for the title shot and include the name of the player, the title of the piece and the composer, then fade in to the performance, giving about 1-3 seconds on either end of the music for the fade.
Final details
Make sure you follow any limits imposed by the adjudicators in terms of length, naming conventions for the video and so forth. Small details can be important to adjudicators who are often faced with the task of reviewing many videos from excellent players. The experience of setting up and perfecting the music and the recording technique is worth it whether you have an upcoming audition or not. Simply capturing a polished piece in a beautiful way can be satisfying. Good luck! It took a lot of tries, but if you’d like to see what we came up with for one of my daughter’s audition videos, here it is.
Have you learned new some new recording tip? See the Suzuki Experience Facebook page to comment.